

I like to repurpose pallets, it’s a great way to get different textures and color shading because of the many different types of woods that companies use to make them. In this project I had a personal problem to solve, we were using a single command strip hook to hang our family calendar on. Very lame.
- Calendar
- White board/dry erase or blackboard (which looks cool, is trendy, but is also messy)
- Magnets- lots of magnet spots to try and catch all those damn scraps of important papers that get lost under the shuffle of junk mail.
- Pencil/ Pen holder
Another consideration was the area I wanted to put it, which meant working around a double light switch box without losing all of the space because of it.
I also wanted to try and make it blend in, or match the coloring of my walls and tile work in the kitchen that it was going to be next to.
So I set out designing, measuring and assembling. The first step was gluing together the 4 large pieces end to end to create the main bulk of it. I just used basic pipe clamps and wood glue. I didn’t use a wood planer so it kept with the rustic feel by creating gaps between the pieces of wood once assembled.

For the second part; the right side area, it was a little more complicated. I wanted to use the metal hash grating to give a more industrial look and provide a lot of magnetic space. It also gave me the opportunity to do something under the metal and I chose to create a painted pattern that closely matched the coloring and size of the tile backsplash in my kitchen. The trick here was to cut a stencil square out of a thin piece of cardboard and just move it around spray painting different colors to give the effect of tiles.
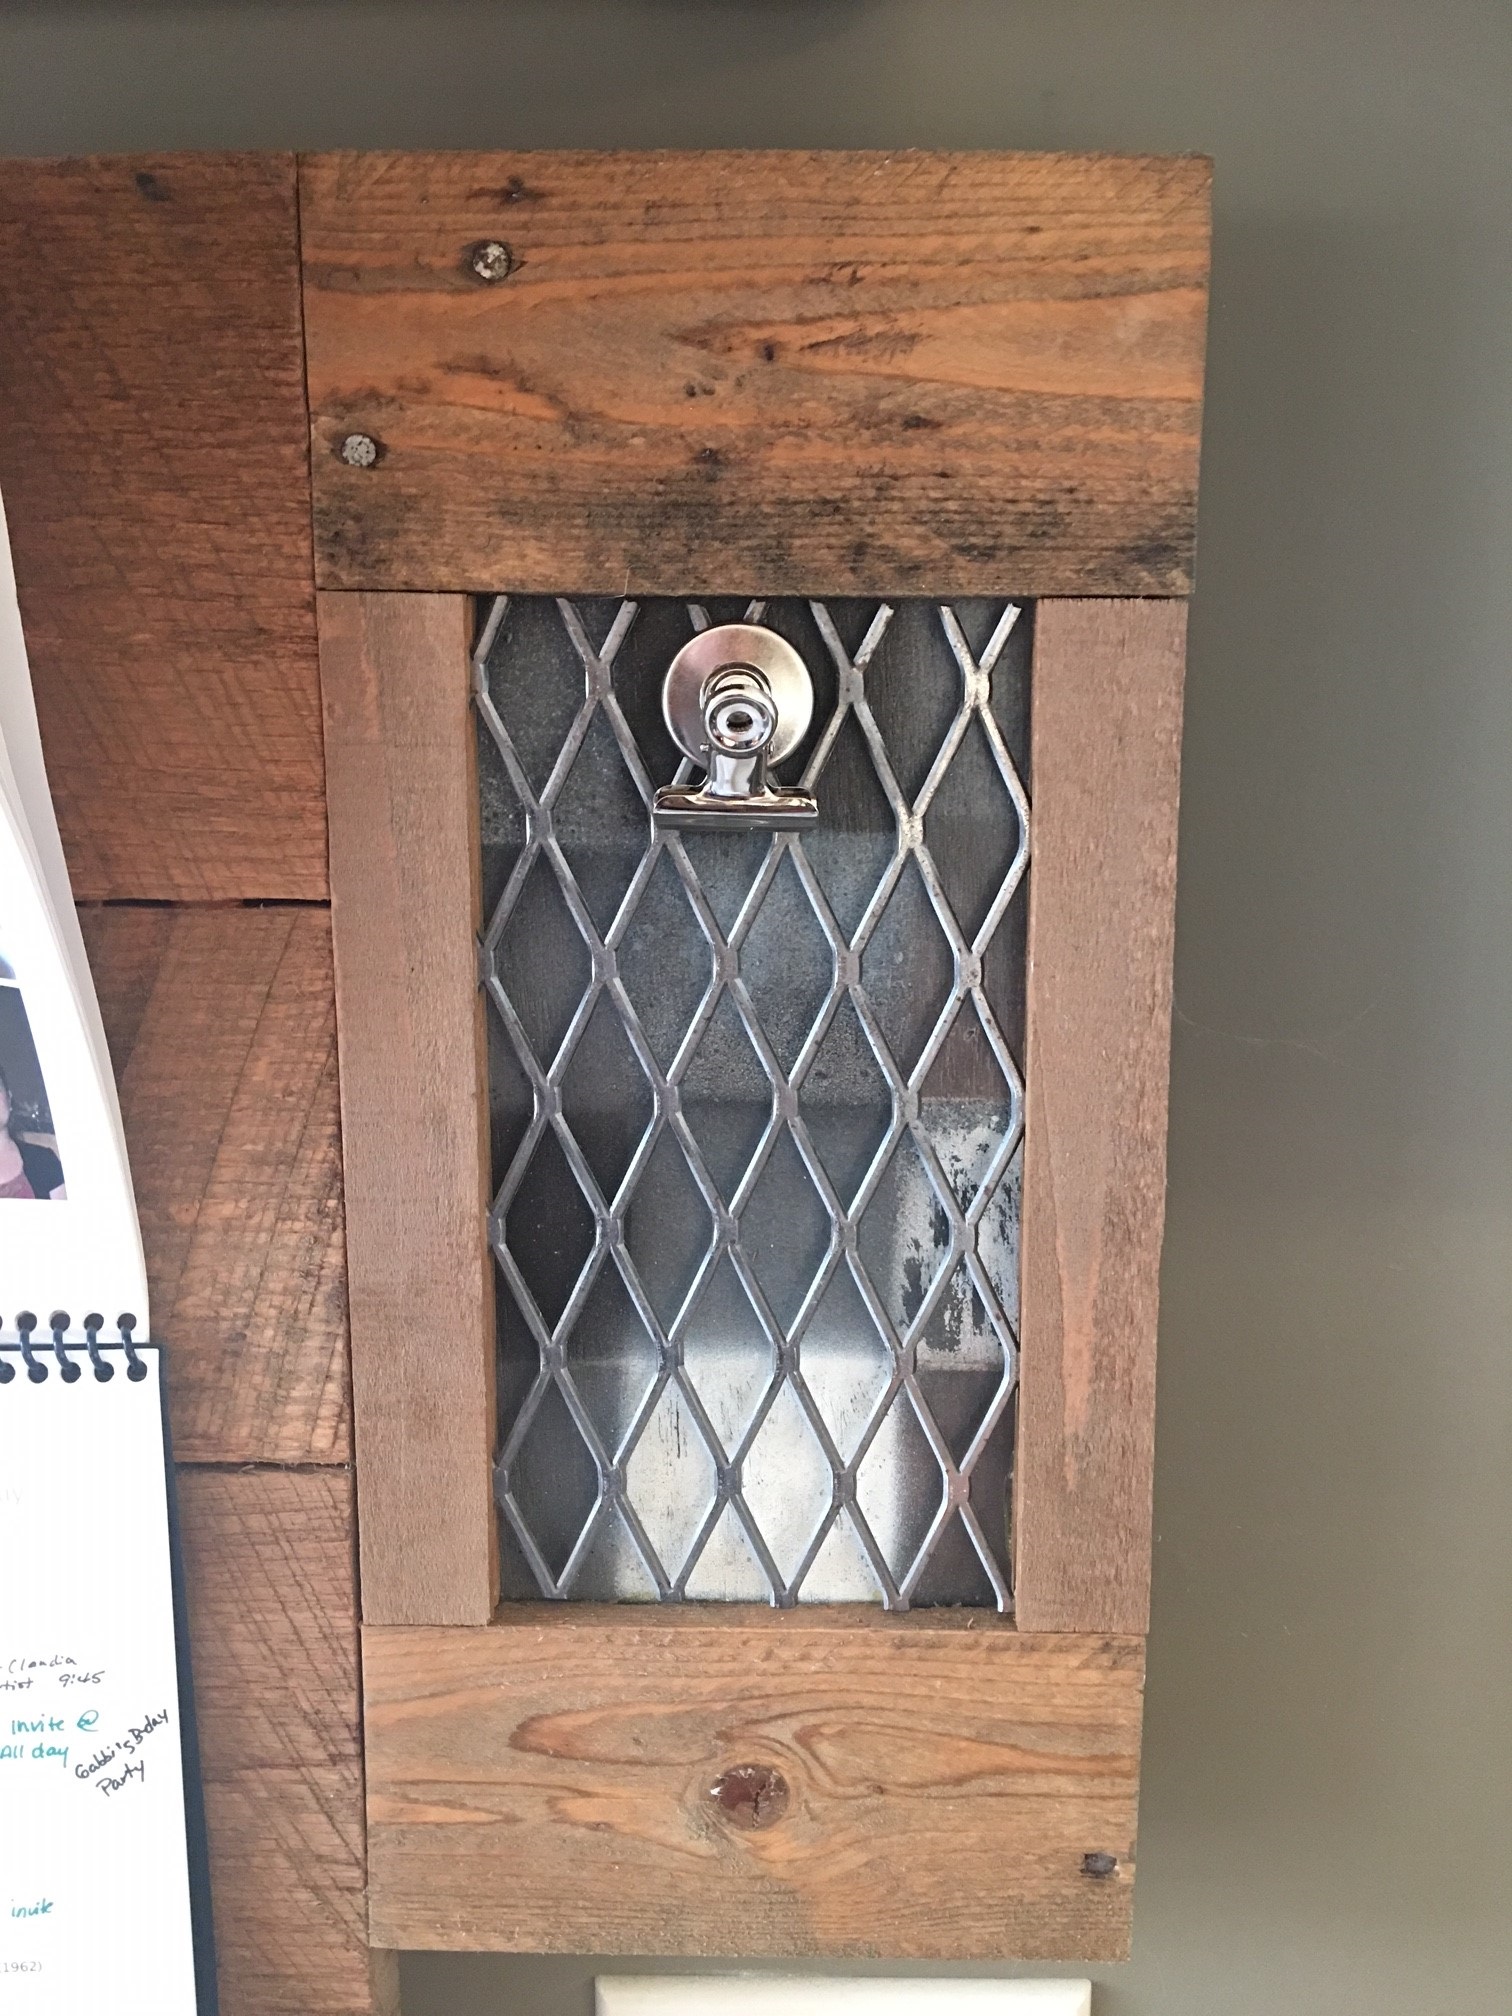
The metal is actually raised above the painted wood a little, I used the table saw to cut grooves into the frame pieces where the metal was inserted (only the 2 side pieces). This effectively sandwiched the metal into place once all four frame pieces were glued together. Kind of cool and gives a 3D look.
I saved the bottom area as a place to mount a steel strip that works well as another magnet holder. Interesting side note, this was leftover from the Coat Rack project. On that metal strip I also mounted a small mason jar using an old automotive hose clamp to hold it in place. Works out good for holding pens & pencils. The white basket I bought from Target.com in the section listed for student lockers. They have all kinds of little magnetic things to put in your school locker (that is if you still live out of one)

That basked it normally overflowing with crap, and no you can’t have my target coupons.
In this project I again used the French Cleat method of mounting to the wall. It allows me to take this on and off easily if I wanted to mount more junk to it, as well as let me adjust on the horizontal plane to line it up perfectly with the light switch I worked around. (Also allowed me to take it off the wall and snap this pic so you could see it)

The long cleat also strengthens the connection to the right side piece. I used felt to protect the wall when moving. The lower two blocks are spacers to keep the whole thing plum when mounted.
The matching Cleat is mounted to the wall. I just found the two studs and zipped 3 big screws in making sure it was level

This last picture is the full view, here you can see the tiles I was matching to on my backsplash.
Notice the sweet Iron Splinter calendar
